a masterclass on jacket moulds
Having discussed my design ideas with Angela, it quickly became obvious that I needed to learn how to make a jacket mould.
What’s a jacket mould? Until recently, I didnt know. I should say that my original background was in fashion and textiles, so being taught any kind of mould making is new to me, but I’m finding it completely fascinating. A jacket mould is basically a thin-ish silicone mould, supported by a rigid plaster jacket.
I’ve bought books on mould making, mainly because I’m the kind of person who loves a ‘how to’ book and will give anything a try, but Angela’s method was completely new to me. It’s so ingenious, I really didn’t understand it properly until the end. I think my face must have been a picture at times.
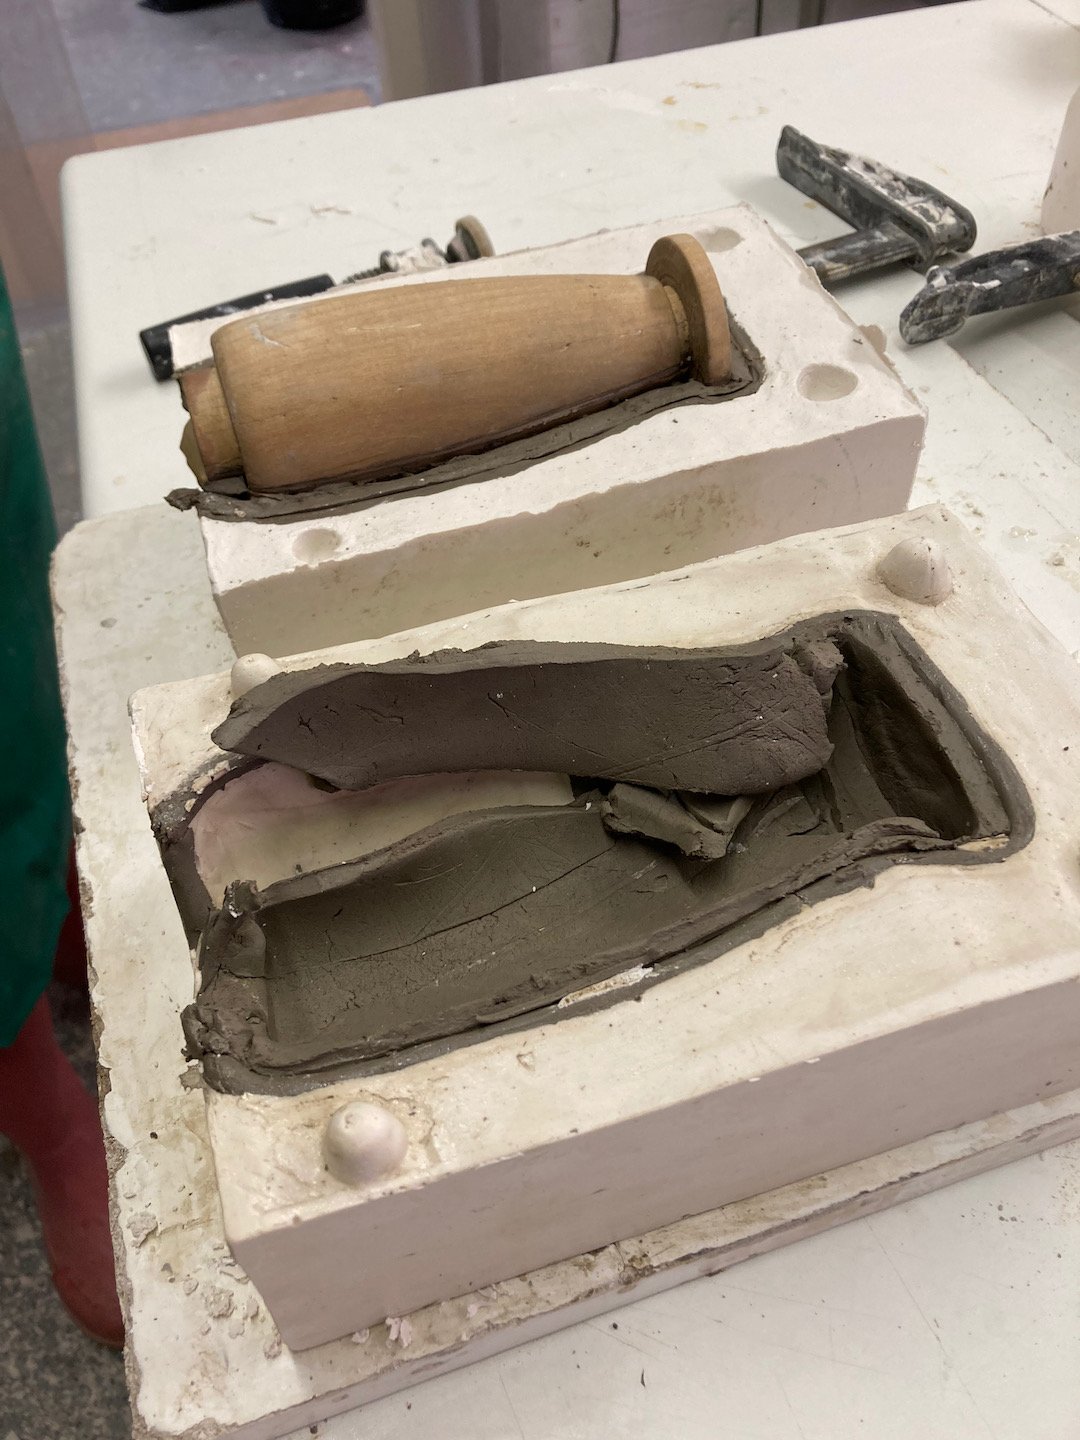
Briefly, the model is half embedded into clay. A clay ‘jacket’ covers the still exposed half of the model. This jacket includes various ‘key’ shapes, and a runner and riser ( the two round clay ‘towers’ ) which will eventually allow silicone to be poured, and trapped air to be released.
A plaster outer layer is then poured. The first clay bed is removed, and a matching jacket is made to cover the other half of the model. After a second plaster half is made, and we have a model, in a thin clay jacket, with two sturdy ‘jackets’ of plaster.
One half of the clay jacket is removed, and the void is filled with silicone. When set, the other clay skin is removed, a second silicone half is made, and we have a model in two silicone skins, with supporting plaster jackets.
The silicone on my first attempt (above) bonded both halves a little. I think I rushed pouring the second batch of silicone, but luckily it came apart and is still a perfect, wax-tight match.
I’ve now made two more jackets, unsupervised so to speak, and they are pretty good.
I’m finding making the clay nicely smooth is a pain, I don’t seem to have the knack yet, and I seem to be making poor registration keys/nipples, that keep falling off…. (no-one wants their nipples falling off), but the second mould is better than the first. I think the first one (below left) probably has a bit too much silicone thickness, but by the second one I was a bit happier about the materials not instantly drying out, (except for the plaster) and took a bit more time. There is barely a parting line where the two halves meet, so I am marking that down as a major success. What it is to have a good teacher. ; - )


